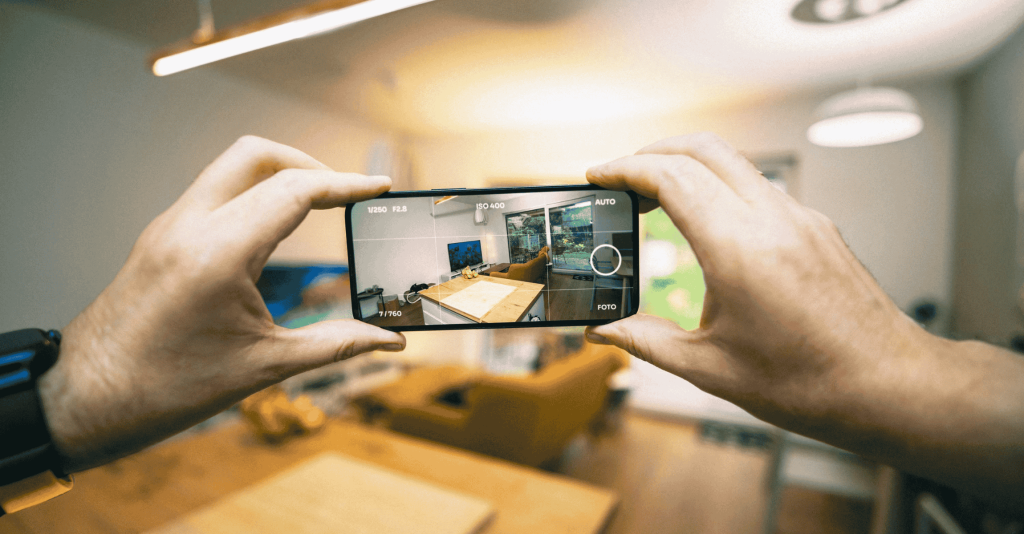
When you’re selling your home yourself, your photos are your first impression. They’re what gets a buyer to click, scroll, or schedule a showing. And the good news? You don’t need a fancy camera to make your home look amazing — your iPhone is more than enough.
Here’s a step-by-step guide to help you take eye-catching, professional-looking photos with just your phone.
1. Clean, Declutter, and Prepare the Space
Before you touch your camera, prep your home.
What to do:
Wipe down surfaces, mirrors, and windows
Hide personal items (toothbrushes, laundry baskets, pet bowls)
Remove magnets from the fridge
Open all curtains and blinds
Turn on every light in the room (yes, even the small lamps)
Pro tip: Less is more. You want buyers to focus on the space, not your stuff.
2. Use Natural Light Whenever Possible
Natural light makes rooms look bigger, brighter, and more inviting.
What to do:
Shoot during the day — ideally between 10 a.m. and 2 p.m.
Open curtains fully to let in as much light as possible
Avoid using your phone’s flash — it can make photos look harsh or artificial
Bonus: Cloudy days can actually be great — soft light reduces harsh shadows.
3. Use Your iPhone’s Built-In Camera Features
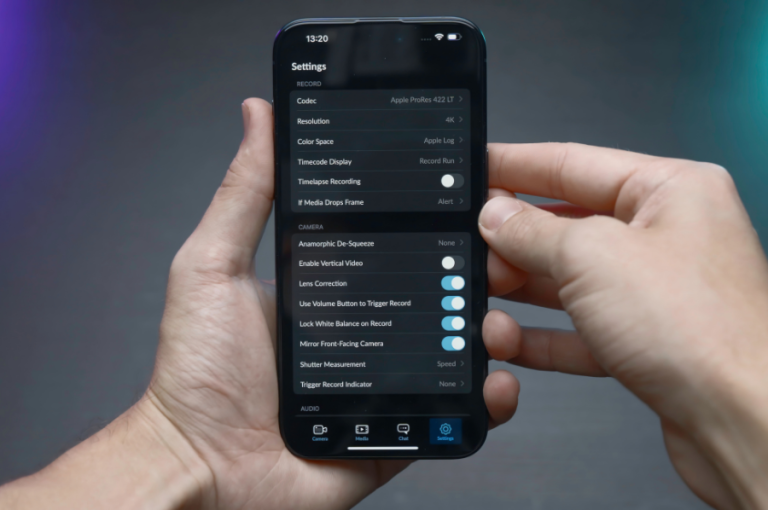
Your iPhone is smarter than you think — here’s how to make it work for you.
Settings to check:
Clean your lens with a microfiber cloth before shooting
Tap to focus on the main subject of the room (e.g., a bed or window)
Adjust brightness manually by dragging the sun icon up or down after tapping
Use grid lines (Settings > Camera > Grid ON) to keep your photos level
Orientation:
Always shoot in landscape mode (horizontal), not vertical
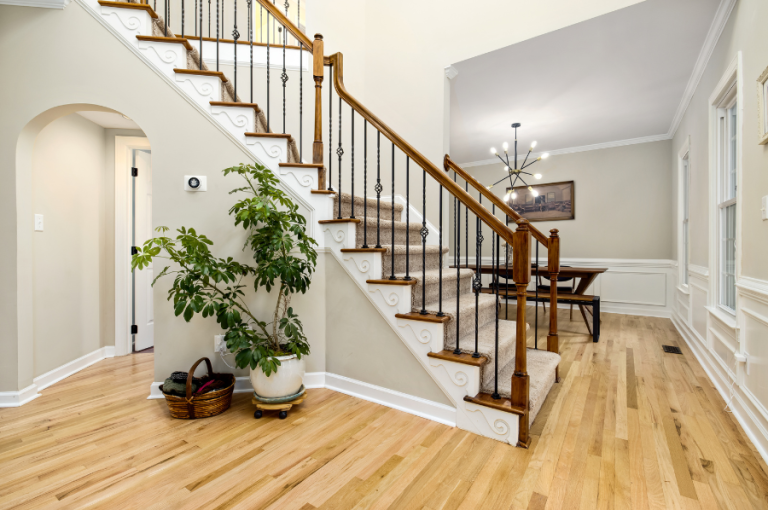
4. Capture Every Key Room
Focus on showing the flow of the home and its most important features.
Must-have shots:
Front of the house (at a slight angle)
Living room
Kitchen
Dining area
Primary bedroom
Bathrooms
Backyard or patio
Nice-to-haves:
Home office
Laundry room
Garage
Walk-in closets
Unique features (fireplace, custom built-ins)
Pro tip: Take 2–3 shots per space from different angles to see which looks best.
5. Use Wide Angles Wisely (But Don’t Overdo It)
iPhones have a built-in wide-angle lens (on newer models) that helps show more of a room — great for tight spaces like bathrooms or hallways.
What to do:
Use the 0.5x lens on your iPhone for a wider view
Avoid tilting the phone too much — it can distort walls or ceilings
6. Frame the Room Like a Pro
Keep it simple:
Stand in a corner to show more of the space
Keep the camera at chest height (around 4–5 feet from the ground)
Don’t cut off furniture awkwardly — show full beds, tables, or seating areas
Keep vertical lines (like door frames) straight

7. Edit Lightly (Right on Your Phone)
You don’t need fancy editing software. Your iPhone’s editing tools are perfect for small touch-ups.
What to adjust:
Brightness
Contrast
Shadows
Sharpness
Crop and straighten if needed
Avoid heavy filters. You want the space to look real — not like an Instagram post.
8. Final Checks Before Uploading
Pick your 10–25 best images
Double check that your photos are bright, sharp, and clutter-free
Name them by room (for easy uploading)
Upload in the order you want buyers to see your home
Ready to List?
Once you’ve taken your stunning photos, List With Freedom helps you upload them directly to the MLS and top real estate websites — no agent required.
You’ve already done the hard part. Now let your photos do the talking.
Next Steps:
➝ Explore our pricing plans
➝ Learn how it works
➝ Contact us today to get started
Other Blogs You Might Find Helpful:
➝ Flat Fee vs. Full-Service Realtor: Which is Right for You?
➝ What Is a Flat Fee MLS Listing? A 2025 Guide for FSBO Sellers
➝ Why More Homeowners Are Choosing FSBO in 2025
➝ What to Do After You Get an Offer on Your Home
➝ Contingencies in Real Estate: A Simple Guide for Sellers
➝ How to Prevent Title Issues From Delaying Your Home Sale
➝ Should You Stage Your Home Before Listing? Pros & Cons
➝ How to Handle Multiple Offers Without an Agent
➝ How to Respond to Lowball Offers When Selling FSBO
➝ Fastest Way to Sell a House By Owner in 2025